
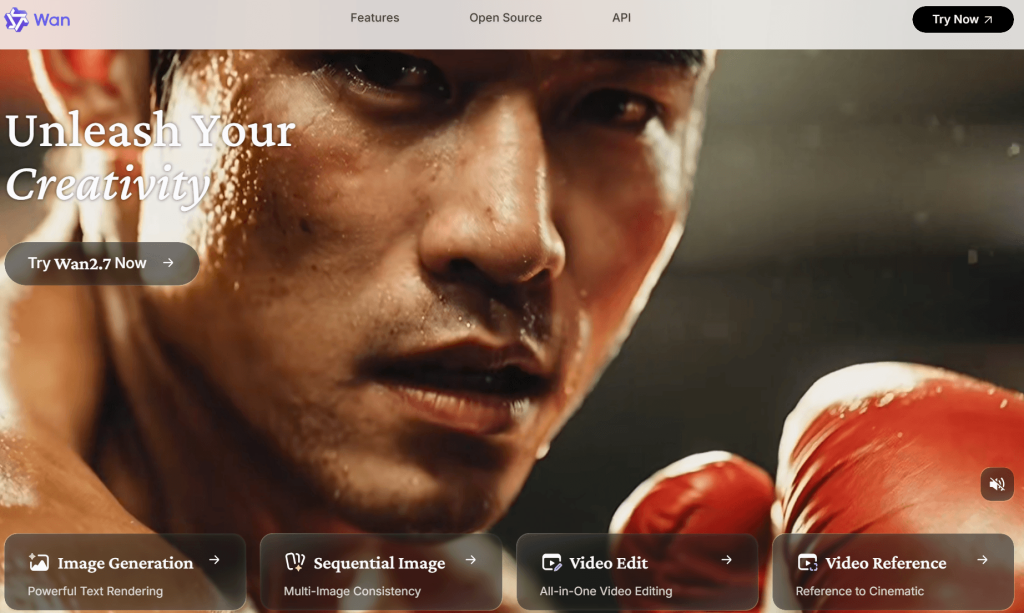
The world of AI video creation is changing dramatically. It’s no longer about the “random” generation; it’s now about intentional creation, where you prompt an AI and obtain the result you’re seeking. The driving force behind this transformation is the new, potent, and highly capable generative technology series, the 2.x and 3.0 models.
For digital creators seeking to bring static drawings to life, marketers looking to present products in a cinematic flair, or filmmakers pushing the envelope on complex scenes, Wan AI offers the framework to make your vision a reality. In this guide, you will learn about the technical wizardry and best practices of using Image-to-Video (I2V) and Animate workflows with Wan AI.
1. Understanding the Architecture: Why Wan AI?
One is the chronological connection, and the other is controllability. Two of the most challenging aspects of the AI video industry are addressed by Wan AI.
Special 3D VAE & DiT technology: Wan AI’s Dynamic Image Transformer (DiT) & 3D VAE use a special technique that lets them process video as a connected sequence of images, a key improvement over previous models. This will enable the model to “understand” objects in time, which means that your character won’t “melt” or “morph” into never-ending shapes.
Mixture-of-Experts (MoE): This new feature, added in the 2.2 version, enables the model to perform a variety of tasks, such as facial expressions, complex physics simulations, etc., by selecting the appropriate “expert” neural network. This way, they can be more performant without using up huge amounts of computing time.
Native Control: From 720p to full 1080p, the model is designed to be compatible with camera directions such as dolly, pan, and zoom, as well as lighting control (golden hour, studio lighting) as part of the generation process.
2. Image-to-Video: Animating Landscapes and Objects
If you give a static image as an input to Wan AI, you are not only telling it to “move”; you’re setting the physics of a scene.
Workflow Preparation: Use a high-resolution base frame. Quality and clarity of shot are paramount. If you are using an AI character, keep the background simple, as a cluttered background may cause “noise” in the animation.
Prompt for Motion: In I2V, your text prompt is the “director’s instruction”. Write more about the picture and do NOT just describe the picture. Explain camera movement and movement of actors.
Strong Prompt: “A cup of coffee on a table.”
Slow camera dolly in of a ceramic coffee cup on a dark wooden table, with steam rising vertically in motion from the cup, the morning sun and light streaming through a nearby window, realistic motion, 4k.

Keep first clips short, say 5-6 seconds this is the “sweet spot” to keep identity consistent until the model starts to diverge from the source image.
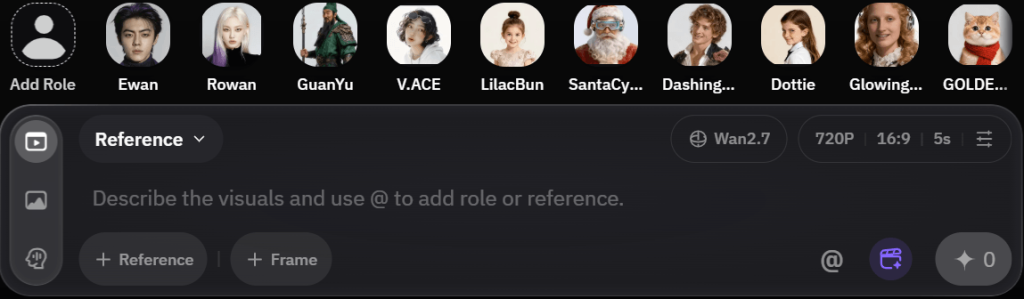
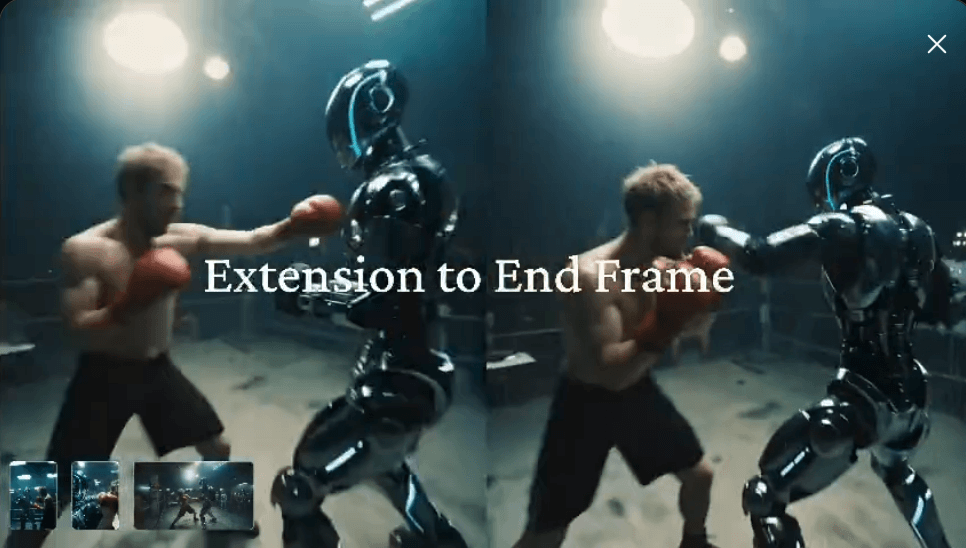
3. Wan-Animate: Bringing Characters to Life
The most groundbreaking thing about Wan AI is Wan-Animate, which has done an excellent job of decoupling “character design” from “motion performance”.
Two Core Modes
Animation Mode: This is where you can select which character to drive. With a character design (PNG) file, Wan-Animate will draw the skeletal structure from the reference video and fit it to the character to replicate facial expressions and body language with amazing accuracy.
Replacement Mode: This is a “deep swap” workflow. If you have a video of someone who is performing a complex sequence, you could use your custom character instead of that person. The system employs a Relighting LoRA to enable you to ensure your character is “in” the environment of the original video, matching the shadows, highlights, and color temperature.
Expert Tips for Character Animation
The Reference Video: The quality of your reference video is the primary limiting factor. Clips should be visible and clear from head to toe; include no background noise.
Lip-sync and facial reenactment are much more difficult without a clear view of the character’s face, or if the face is hidden or turned away from the camera for a long time.
Framing Matters: Take some effort to match the shot of your input video to the reference video. Use a portrait reference video for a character who is a portrait. Often attempting to fit an entire body dance onto a character, whose head is only visible from the waist up, will result in a poor fit.
4. Best Practices for Product Animation
Consistency is king, especially when it comes to e-commerce and brand marketing. The products need to be exactly the same in all frames to keep customers from being let down.
Set the Environment: Use your prompt to “lock” the environment. The phrase “static environment” is used to ensure the AI does not add or remove objects during the motion or change the background.“static environment”: This is used to prevent the AI from adding or removing objects during motion or changing the backdrop.
Consistent Seeds: When producing multiple angles of the same product, maintain the same seed number. This way, the model maintains the texture, color, and specifics about your product for multiple takes.
Control the Pacing: “Slow” is almost always better for products. Employ language such as “slow rotation”, “gentle pan,” or “cinematic drift” to draw the viewer’s attention to the product. When the branding is vague or hard to see, it is easily confused in fast, chaotic motion.
5. Technical Troubleshooting
Despite the best of intentions and models, problems may arise. How to go around them:
Identity Drift: Take care not to change features of your character mid-clip if they start to change, since you might be using too many “heavy” LoRAs. In some cases, reducing the LoRA weight (e.g., 1.0 to 0.7) can help to stabilize the identity.
This is typically a result of exceeding the motion intensity, resulting in artifacts and “Melting”. Adjust the prompt if the video appears distorted, make it less complex with fewer action descriptions, and concentrate on one main action per video clip.
If you’re using locally (such as ComfyUI), make sure you have plenty of VRAM (16G+ for 720p resolution, 24G+ for 1080p). For cloud-based APIs, prioritize the use of “Lightning” or “Fast” versions over the high-fidelity full render to get a fast prototype built before going all the way to a high-fidelity.
Conclusion: Mastering the Workflow
WAN AI isn’t about just cutting the pieces; it’s about creating pieces with the “director’s intent”. Whether you’re creating animation for film concepts, branding logos for film sets, or animating complex characters for film stories, you can craft quality content that looks deliberate and professional looking.
Keep in mind as you incorporate these workflows into your website: The AI is the engine, and you are the one driving it. Use straightforward prompts, have structure, always respect physics that is found in your source images, and never be afraid to use “replacement” workflows between static art and pro-level video. Happy animating.