
A while back, turning a static image into a video used to require heavy editing skills, lots of time, and energy. However, with AI image-to-video tools, these processes are scrapped. That is, more than ever, it has become incredibly easy to animate photos. The best part is that you can produce videos in seconds as opposed to the hours of traditional photo animations. All you have to do is upload a photo, add a prompt, select your desired options, and voilà! You have an animated photo.
Although it may look that way, it is not as simple as press and go, as the quality of your animated photo is strongly affected by the way the photo is prepared, the prompt is constructed, and the level of control taken over the settings.
This guide explains the best workflow for how to turn image into AI video. It explains the parameters that impact quality the most.
Start With the Right Image
Photo animation is over as soon as the prompt is added, but the quality is determined long before that. The photo you use is a large determinant of the final AI animation quality. The pictures you choose must contain a single subject, be well-illuminated, have high contrast, minimal background noise, and clearly outlined edges. Blurry pictures are one of the main reasons why AI-created animations are shaky and poorly generated.
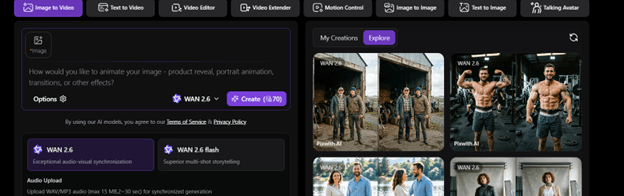
Writing a Clear and Controlled Prompt
This is where most users either improve or ruin their results. A good AI video prompt doesn’t have to be long. It just needs to be clear. You don’t need to overload the system with multiple ideas; just express enough to cover the movement of the subject, behavior of the environment, camera direction, mood, or tone.
For example, instead of writing “make it cinematic and beautiful with dramatic lighting, fast motion, and a moving camera,” you can simply use “slow camera push-in, subject gently blinking, soft natural lighting.”
The difference is focus and control. Typically, AI models will respond to structured instructions and care less for emotional descriptions.
Understanding Motion Strength
One of the important settings in AI image-to-video generation is motion strength. It allows the user to dictate how much movement should be applied to the original image. While low motion strength results in subtle animations, stable facial features, and minimal distortion, a high motion strength provides a much more dynamic movement and increased distortion.
A good rule of thumb is to keep motion strength low and increase it if you feel the need to. The addition of more movement, especially when not warranted, can cause unnatural movement and distortion to the subject of your image.
Camera Movement Matters More Than You Think
What helps give an AI-generated video a sense of realism or cinematic quality is the camera movement. The movement of the camera can include moving in or out from the object, pans left or right, the upward and downward movement of the camera, or leaving the camera still and making the object move. Using different kinds of movements allows you to influence your audience in the desired way.
Moving closer to the object, for example, is more personal. A pan can evoke a relaxing cinematic effect, and making the camera remain still while the object is moving highlights the idea the artist wanted to transmit.
Each movement should be used with great control. One of the elements you should focus on is the direction of the camera.
Choosing the Right Duration
Drawing from several AI image-to-video tools, most tools allow you to determine your clip length, typically ranging from 3 seconds to 10 seconds.
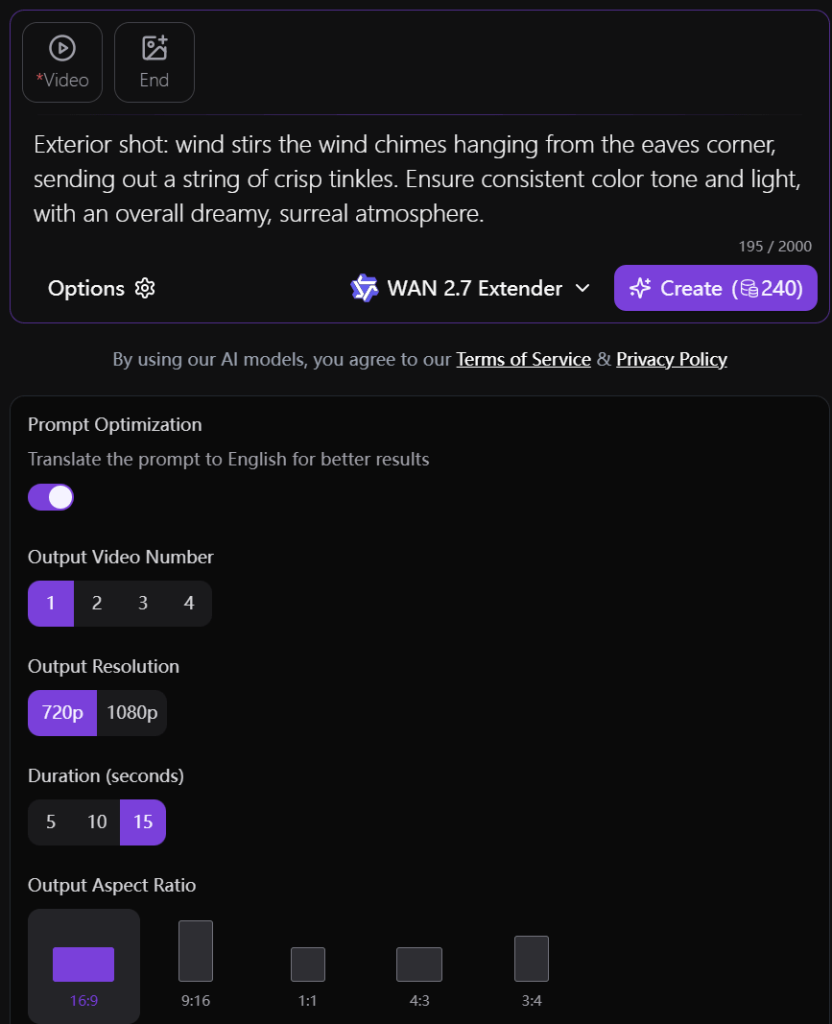
The 3-5 second duration produces prompts that are stable, reliable, and straightforward to produce. On the other hand, a duration between 6 and 10 seconds usually results in more distortion and requires elaborate prompts for movement.
If you are new to the system, it is advised to begin by producing prompts for 3-5 seconds, and only then gradually increase the length over time.
Aspect Ratio: Don’t Ignore It
Aspect ratios may not seem like they matter, but they dictate how the AI interprets and frames the scene.
Most formats are:
- 1:1 for square content
- 9:16 for vertical social media videos
- 16:9 for widescreen cinematic output
The wrong aspect ratio results in:
- Cropped subjects
- Poorly framed scenes
- Missing critical context
When designing content for social media, determine the aspect ratio that matches the content first, then generate the video.
Quality Settings and Output Control
Quality settings determine how a video’s quality is valued. Higher or lower settings will determine if you get more or fewer visuals, sharper detail, better or worse motion, or slower generation.
A good workflow suggests starting with lower quality for quicker outputs and moving to higher quality for prompts that are working.
Privacy Checklist Before You Upload
Privacy is important, even with simpler workflows. As a result, checking a few things before uploading an image goes a long way.
- Is the image personal or sensitive?
- Does the platform store uploads permanently?
- Can you delete generated content easily?
- Is account creation required?
- Are prompts saved in history?
These help you evaluate how much control you have over your content.
A Simple Workflow You Can Follow
If a well-defined process is required, the following steps can be followed:
- Select a clear picture.
- Formulate a simple prompt, keeping the motion in mind.
- Start low (less than 1 or 0).
- Set a short duration (3-5 seconds).
- Select the appropriate aspect ratio.
- Generate your video and evaluate the output.
- Change only one parameter at a time.
This process will give you controllable and non-random results and ensure that you know exactly what you are modifying.
Where Tools Like Pixwith Fit In
Some tools are more effective than others, and some are worse than others, with one taking focus and time away from the user and the other bombarding the user with too many settings at once.
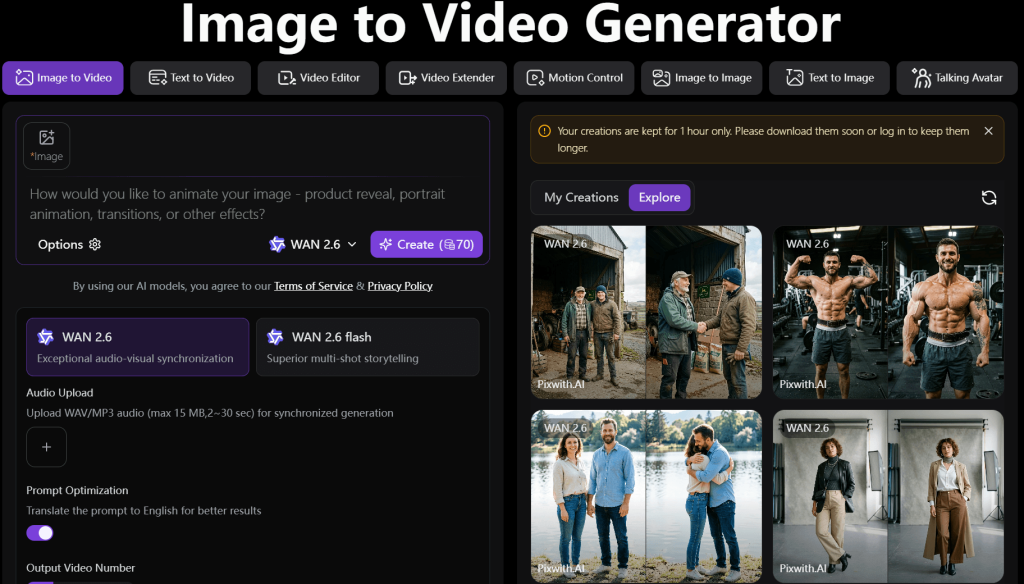
This is where the more basic tools can be of higher help. A great example is Pixwith, which allows basic image-to-video generation without throwing you a million settings to manage. For many of its users, the great selling point is that it is fast, simple, offers basic generation, and promotes creativity.
If you want quick results without adjusting multiple settings, Pixwith keeps the process simple and direct.
Conclusion
AI image-to-video generation is a bit more serious than using a single action. Quality of the image, clarity of the prompt, control of the motion, and setting everything together to ensure a good output are all necessary elements.
Following this simple standard of control with the right steps has the ability to yield great results.
Prefer a smoother and more direct experience? Pixwith, with its simple solutions, is able to smoothly and directly help you turn your image into a video without unnecessary steps or complexity.