
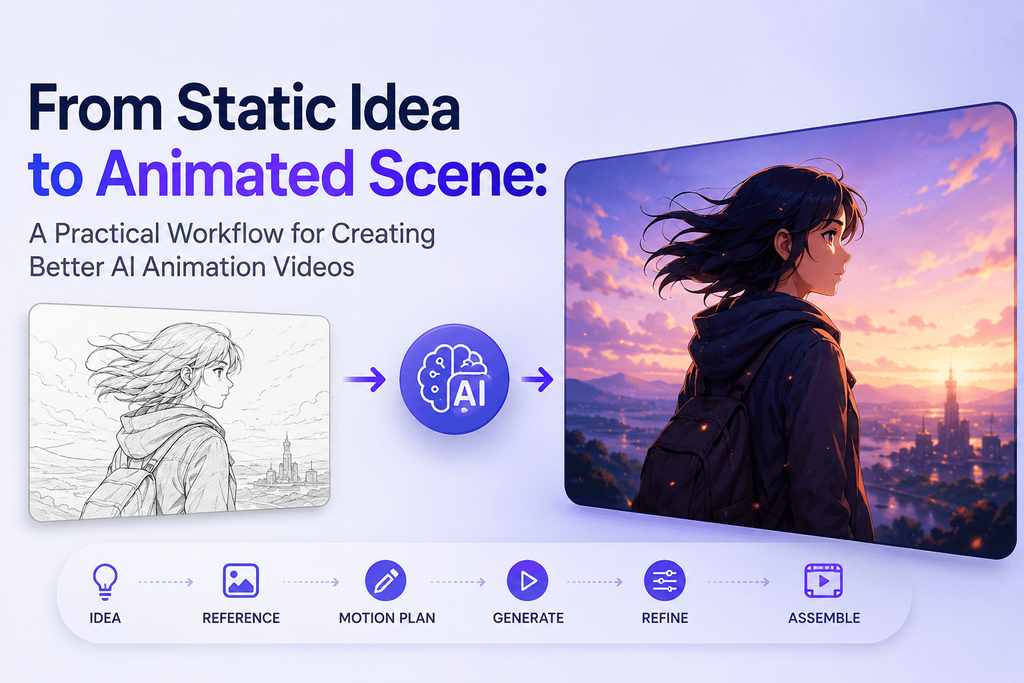
The first time you use an AI animation video generator, it can feel like a small magic trick. You type a few words, hit generate, and a few seconds later something that didn’t exist a minute ago starts moving on your screen.
Then you make a second clip. A third. A tenth. And a different reality sets in.
Making something move is easy. Making it move in a way that looks intentional is a different problem entirely.
Characters drift out of shape between frames. Faces shift just slightly enough to look wrong. The camera fights with the character for control of the shot. An illustration you loved turns into a blur of motion the moment you animate it. A prompt that reads as detailed on paper produces something that looks generic on screen.
None of that means AI animation doesn’t work. It means most people are approaching it the wrong way.
Better AI animation doesn’t come from writing longer, more elaborate prompts. It comes from treating each generation like a small animation production — with decisions made before you ever type a prompt, not during it. That’s the workflow this article walks through.
What an AI Animation Video Generator Actually Does
Skip the textbook definition for a second and think about it from the seat of the person creating.
An AI animation video generator predicts how a scene should change over time, based on whatever information you give it: a line of text, a source image, a character reference, motion instructions, camera direction, or a stylistic reference. The more precise that input, the more predictable the output.
What gets lost in most “best AI animation generator” roundups is that this category actually covers several different technologies, and they solve different problems.
Text-to-animation builds the scene and the motion at the same time, straight from a written description. It’s the right tool when you’re exploring an idea, building fantasy scenes, generating B-roll, or developing a visual direction you haven’t landed on yet.
Image-to-animation starts from a visual that already exists and generates the motion around it. This matters when character appearance has to hold, when a product’s design can’t shift, when you already have an illustration you like, or when visual consistency is the whole point.
Video-to-video animation takes existing footage and reinterprets it in a new visual style. It’s what you reach for when you want an anime transformation, a stylized character video, or motion that’s preserved from a real performance.
Template and character animation works from predetermined characters, rigs, or scenes — useful for explainer videos, corporate training, and presentation content where repeatability matters more than novelty.
Search results tend to lump all four into one “AI animation generator” bucket. In practice, they answer different creative questions, and knowing which one you actually need is the first decision, before any prompt gets written.
The Most Important Decision Happens Before You Write the Prompt
Here’s a framework I use before I generate anything, and it’s saved me more failed clips than any prompt trick has. Call it the Animation Intent Test. Four questions, answered honestly, before you touch the generate button.
1. What has to stay visually consistent? Usually it’s the character, their clothing, a product, the environment, or the art style. Whatever you name here is the thing you protect through every other decision.
2. What actually needs to move? Character, camera, background, an object, the lighting — pick what’s doing the work. Not everything needs to be in motion for a shot to feel alive.
3. What should stay still? This is the question almost everyone skips, and it’s the one that matters most. When everything in a scene moves, the result reads as synthetic, not cinematic. Stillness is what makes motion mean something.
4. What feeling should the movement create? Energetic, peaceful, mysterious, threatening, playful, luxurious — motion has a mood, whether you plan for it or not.
Put together, this is really about motion hierarchy, not motion quantity. A shot with one deliberate movement almost always reads better than a shot with five competing ones.
Why Image-to-Video Is Often Better Than Text-to-Video for Animation
Text-to-video asks a model to solve a lot of problems at once: invent the character, invent the composition, choose the art style, build the environment, generate the motion, and hold all of it together across time. That’s a lot to ask in a single pass.
Image-to-video removes several of those decisions before the motion generation even starts, because the character, the composition, and the style are already locked in the source image.
So the general rule I work from: text-to-video is strong for discovery, when you don’t yet know what the scene should look like. Image-to-video is stronger for controlled animation, when you already know exactly what you want and just need it to move correctly.
A few examples make this concrete.
Anime character. Instead of writing “anime girl standing on a rooftop at sunset,” start by creating or uploading the exact character image you want. Then write the motion prompt separately: hair and jacket move gently in the wind, the character stays mostly stationary, a slow camera push-in, distant clouds shifting subtly. The image handles appearance. The prompt only handles motion.
Fantasy illustration. Use the artwork itself as the first frame and animate the environment around it — mist, light, water — rather than asking the model to rebuild the whole world from scratch.
Product artwork. Keep the product’s geometry locked and animate the camera, the reflections, and the lighting instead.
The Motion Hierarchy Method: Animate One Thing First
This is the single biggest shift I’ve made in how I approach AI animation, and it’s a simple idea: split motion into layers, and don’t ask for all of them at once.
Layer 1 — Subject motion. Walking, blinking, turning, gesturing.
Layer 2 — Secondary motion. Hair, fabric, smoke, leaves, water.
Layer 3 — Camera motion. Pan, tilt, orbit, dolly, zoom.
Layer 4 — Environmental motion. Lighting changes, clouds, particles, reflections.
Beginners tend to request all four layers aggressively, in one prompt, all at once. That’s exactly what produces instability — the model has too many competing instructions to reconcile. The fix is to pick one dominant movement and keep everything else restrained.
Compare these two directions for the same scene:
Weak: “Character runs, camera spins around her, explosions happen behind her, hair flies, lightning flashes and city lights move.”
Better: “Character walks steadily toward camera. Subtle hair movement from wind. Slow backward tracking shot. Background remains stable.”
The second version isn’t less interesting. It’s just organized.
A Better Prompt Formula for AI Animation
Once you know your dominant movement, a simple formula keeps the prompt itself from sprawling:
Subject + Primary Action + Secondary Motion + Camera + Environment + Style + Constraints
Weak prompt: “Anime warrior walking through a futuristic city.”
Better prompt: “Anime warrior walks slowly through a neon-lit futuristic street. His coat moves gently with each step while signs flicker subtly in the background. Camera tracks backward at walking speed, keeping his face centered. Controlled motion, consistent character proportions, cinematic anime lighting.”
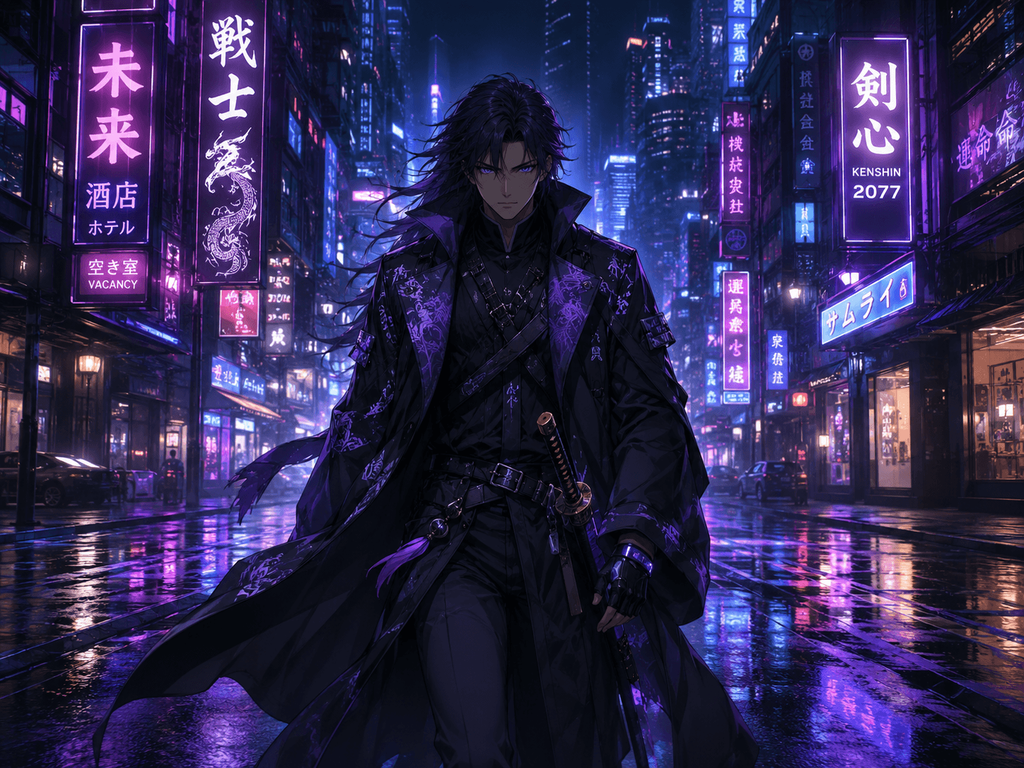
Every part of that second version is doing a job — subject and action define the shot, secondary motion adds life without stealing focus, the camera instruction tells the model how to frame it, and the constraints at the end (consistent proportions, controlled motion) are there specifically to protect against the failures most people run into.
The Words That Control Animation Better Than Extra Description
Rather than another giant list of prompt words, it helps to think about vocabulary by function — what job each word is doing.
Motion speed: slowly, gradually, gently, rapidly, sudden, restrained.
Camera behavior: slow push-in, tracking shot, orbit, handheld, locked camera, dolly backward.
Secondary movement: subtle, slight, gently swaying, softly drifting.
Stability language: consistent appearance, stable composition, minimal deformation, subject remains centered, background remains fixed.
Worth noting: words like subtle, controlled, gradual, and minimal often improve a generation more than another full paragraph of visual description would. They’re not decoration — they’re constraints, and constraints are what the model actually needs.
My Practical AI Animation Workflow
This is the actual process I run, shot by shot, not a theoretical list.
Step 1 — Start with the final shot in mind. Decide the subject, the duration, the composition, the dominant movement, and where the clip is actually going to be used before you generate anything.
Step 2 — Create or select a strong first frame. A clean source image matters more than people expect. Look for a clearly defined subject, visible limbs, an uncomplicated silhouette, enough separation from the background, and the right aspect ratio for where the clip will live.
Step 3 — Write only the motion instructions you actually need. Don’t redesign the image through the motion prompt. If the image is right, protect it.
Step 4 — Generate a short version first. Treat the first generation as a motion test, not a final take. Don’t jump straight to the longest duration available.
Step 5 — Diagnose the failure. If something’s off, name what kind of problem it is: an appearance problem, a motion problem, a camera problem, a composition problem, or a temporal consistency problem. Naming it correctly tells you what to fix.
Step 6 — Change one variable. This is the step people skip most often. After a failed generation, the instinct is to rewrite the whole prompt. Don’t. Change one thing and regenerate, so you actually know what fixed it.
Step 7 — Generate alternative takes. Treat the process like a shoot, not a single roll of the dice. Generate a few takes and pick the strongest one rather than expecting perfection on the first try.
Why Using Multiple AI Models Can Improve Animation Results
There’s no single AI animation model that’s best at everything. One handles realistic human movement better. Another is stronger with anime. Another is better at dramatic camera work. Another is more reliable at preserving the source image. Another is simply faster or cheaper to run.
Which means the more useful question isn’t “what’s the best AI animation generator.” It’s “which model is right for this particular shot.”
Where Pixwith Fits Into This Workflow
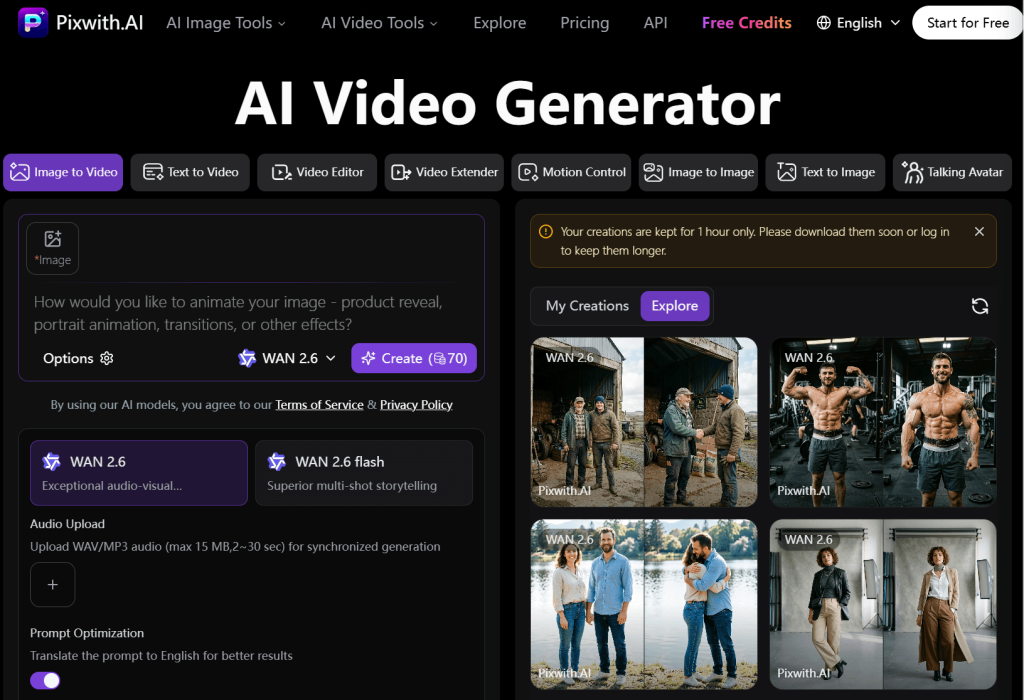
This is really a workflow simplifier rather than a single tool with one trick. Instead of juggling separate accounts and moving the same source image between several different AI video services, you can run the whole process from one place.
Pixwith currently supports both text-to-video and image-to-video creation as an AI animation video generator, so different parts of this workflow live inside the same platform.
For the exploration stage, text-to-video is useful when the visual idea doesn’t exist yet — generating scene concepts, testing visual directions, and trying different animation styles before committing to anything.
For controlled animation, image-to-video takes over. Upload an illustration, a character design, product artwork, or an AI-generated image, then define the movement separately, the way this whole article has been arguing for.
The real advantage of working inside one platform that supports multiple generation approaches is the ability to test and compare, rather than assuming a single model should handle every kind of shot. If you want to see how this looks in practice, you can create animated videos with AI and compare how different generation approaches interpret the same scene.
Three Animation Experiments Worth Trying
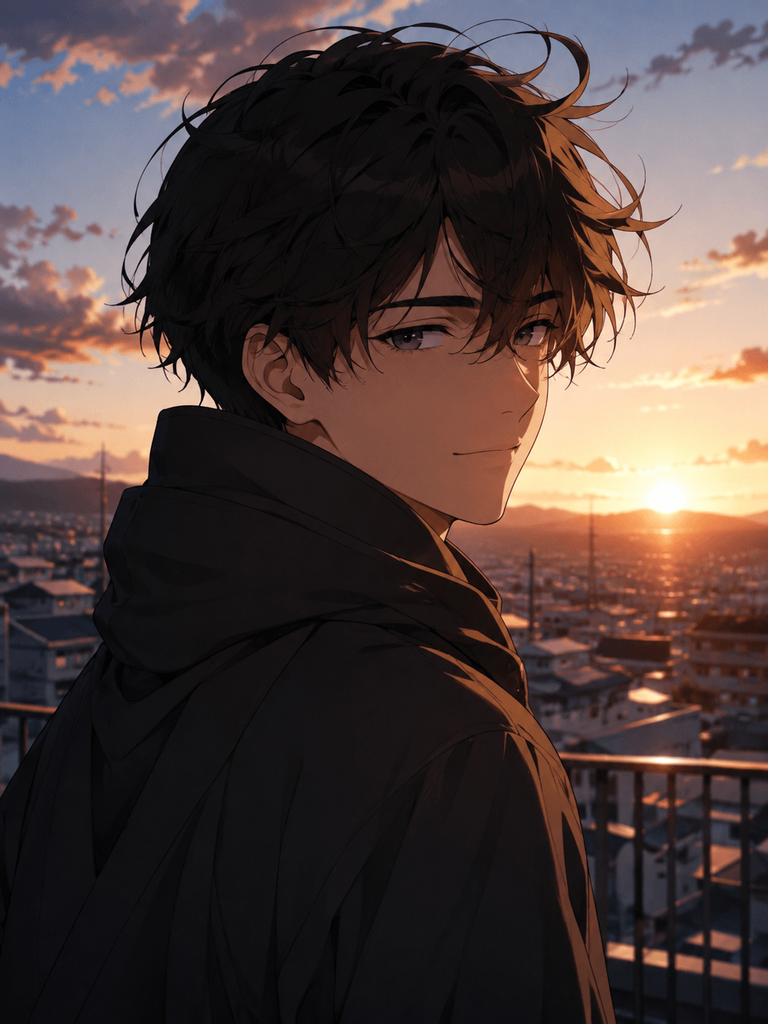
Experiment 1 — Character animation. Start with a full-body illustrated character. Motion prompt: “Character slowly turns toward camera and smiles slightly. Hair moves gently in the breeze. Locked camera. Background remains stable.” Watch for facial consistency, body proportions, natural motion, and how well the source image holds up.
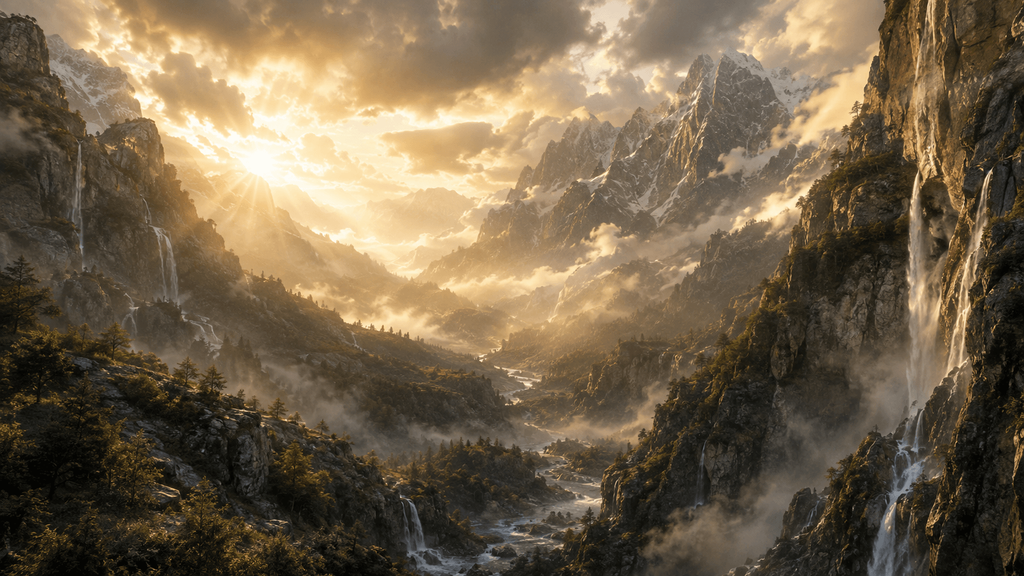
Experiment 2 — Cinematic environment animation. Start with a fantasy landscape. Motion prompt: “Slow camera push through the valley. Mist drifts between the mountains while waterfalls continue flowing naturally. Golden sunlight gradually emerges through the clouds.” Watch for depth, environmental motion, and camera smoothness.
Experiment 3 — Product animation. Start with a studio product image. Motion prompt: “Slow clockwise camera orbit around the product. Soft reflections move naturally across the surface while the product remains perfectly stable. Premium commercial lighting.” Watch for geometry preservation, how well the branding holds, lighting quality, and camera control.
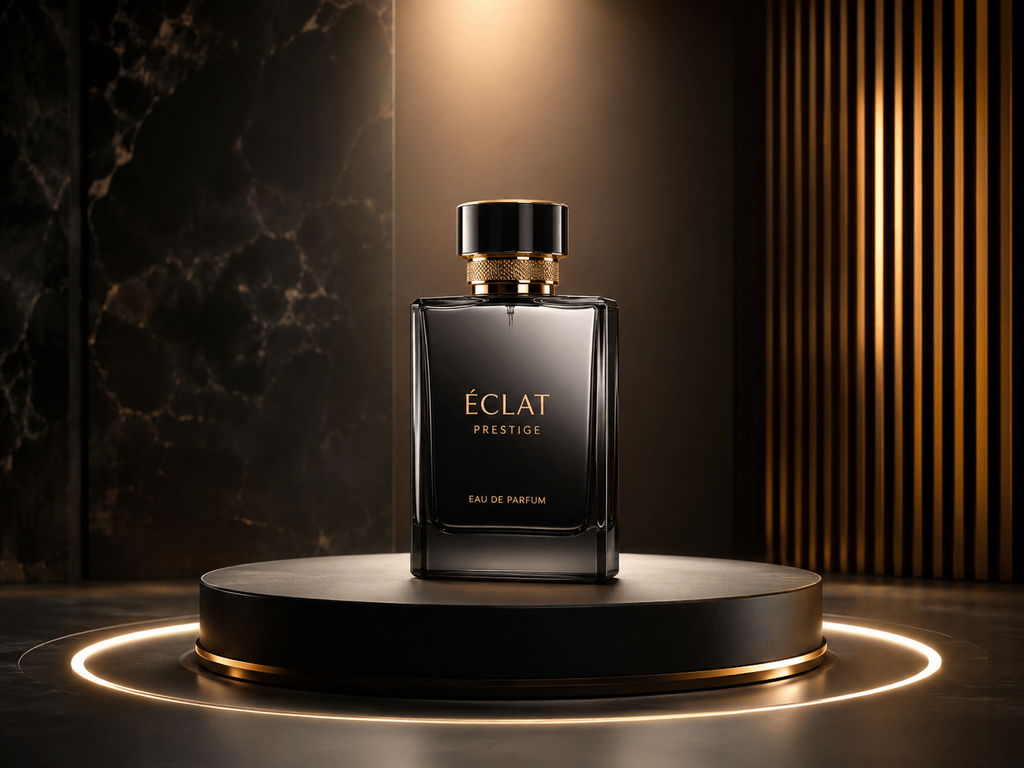
Run all three and you’ll start to see, firsthand, which parts of a generation are reliable and which parts need tighter constraints.
Why AI Animation Sometimes Goes Wrong
The character changes appearance. Usually too much simultaneous motion, or a weak reference image. Reduce the character’s movement and prioritize keeping the appearance consistent.
Hands or limbs distort. Usually a complex interaction or an extreme pose. Simplify the action, or split it into two separate shots.
The whole image seems to wobble. The model can’t tell foreground movement apart from camera motion. Give more explicit camera instructions and dial back environmental motion.
The animation feels flat. No visual hierarchy — nothing was designated as the dominant movement. Introduce one intentional camera move or one piece of secondary motion.
The motion looks chaotic. Too many simultaneous instructions competing for control. Go back to the Motion Hierarchy Method and cut it down to one dominant layer.
One Scene Is Not a Story — Build AI Animations Shot by Shot
A single prompt isn’t going to hand you a polished short film, and expecting it to is where a lot of frustration comes from. The better approach mirrors how film has always been made: shot by shot.
A short sequence might look like this. Shot one, an establishing shot: a character stands outside an abandoned observatory. Shot two, a medium shot: the character approaches the entrance. Shot three, a close-up: a hand pushes open the old door. Shot four, the reveal: the camera moves behind the character as a glowing machine comes into view.
Generate each shot on its own, then assemble them. It gives the model fewer simultaneous problems to solve per generation, and it gives you a final sequence that actually holds together.
Five AI Animation Use Cases Where This Workflow Works Especially Well
Animated artwork. Turning illustrations into atmospheric, looping scenes.
Short narrative sequences. Three to six shots that tell a small, complete story.
Anime and fantasy scenes. Animating original character artwork while keeping its visual identity intact.
Product reveals. Adding camera movement and lighting without a traditional 3D production pipeline.
Social media hooks. Five to ten second sequences built around one genuinely strong movement, designed to stop a scroll.
When You Should NOT Use an AI Animation Generator
It’s worth being honest about the limits here. AI animation isn’t the right tool when exact frame-level control is mandatory, when a complex character interaction has to be flawless, when precise typography needs to stay readable, when long-form continuity is essential, or when a production needs deterministic, repeatable output. In those cases, traditional tools like Blender, After Effects, Maya, or dedicated character-animation software are still the better fit.
What AI generation is genuinely good for, even in those production pipelines, is concept development, previsualization, background plates, quick inserts, and general experimentation before committing to a full build.
The Real Skill Is Becoming an AI Animation Director
Traditional animators control movement frame by frame. AI creators control it differently — through visual references, motion hierarchy, shot design, model selection, and iteration.
Which means the valuable skill here was never really “prompt engineering.” It’s visual direction. People who already understand composition, movement, cinematography, timing, and storytelling will consistently get better results from AI animation than someone typing an enormous, unstructured prompt and hoping for the best.
Final Takeaway
AI animation generators have dramatically lowered the technical barrier to making something move on screen. What they haven’t done is remove the need for creative decisions — if anything, they’ve made those decisions matter more.
The workflow that actually holds up, generation after generation, is this: idea, reference, motion plan, generate, diagnose, iterate, assemble. Once you start working this way, AI animation stops feeling like a slot machine and starts feeling like an actual production tool.
Platforms like Pixwith make this easier to put into practice, since text-to-video and image-to-video generation live inside the same environment — which means you can experiment across approaches instead of committing every project to a single method from the start.
Start with one image, one movement, and one short shot. Try it with Pixwith, look closely at what the AI actually understood, and build the rest of the animation from there.
FAQ
What is an AI animation video generator?
It’s a tool that turns text, images, or existing video into moving footage by predicting how a scene should change over time, based on the input and instructions you provide.
Can AI create animation from a single image?
Yes — this is image-to-animation, and it’s often the more reliable route when you need the character, product, or scene to look exactly the way you intended.
Is text-to-video or image-to-video better for animation?
Text-to-video is generally better for exploring ideas that don’t exist yet. Image-to-video is generally better once you know exactly what you want and need controlled, consistent motion.
How do I keep a character consistent in AI animation?
Start from a strong, clean source image, keep the motion prompt focused only on movement, and avoid asking for more motion layers than the shot actually needs.
What prompts work best for AI animation?
Prompts that follow a clear structure — subject, primary action, secondary motion, camera, environment, style, and constraints — tend to outperform long, purely descriptive prompts.
Can AI animation generators create anime videos?
Yes, and image-to-video tends to work especially well here, since it preserves the character design while animating the motion around it.
Can AI-generated animations be used commercially?
This depends on the specific platform’s terms and licensing, so it’s worth checking the tool you’re using directly before publishing commercial work.
Do I need animation experience to use an AI animation generator?
No, but a working understanding of composition, camera movement, and pacing will noticeably improve your results, the same way it would in any other medium.
Why does AI animation sometimes distort faces or hands?
Usually because too many motion layers are requested at once, or the source image and pose are too complex for the model to hold steady across frames.
Can I create an entire animated short film with AI?
Yes, but it works best when built shot by shot rather than as a single long generation — treat each scene as its own shot, then assemble them afterward.