
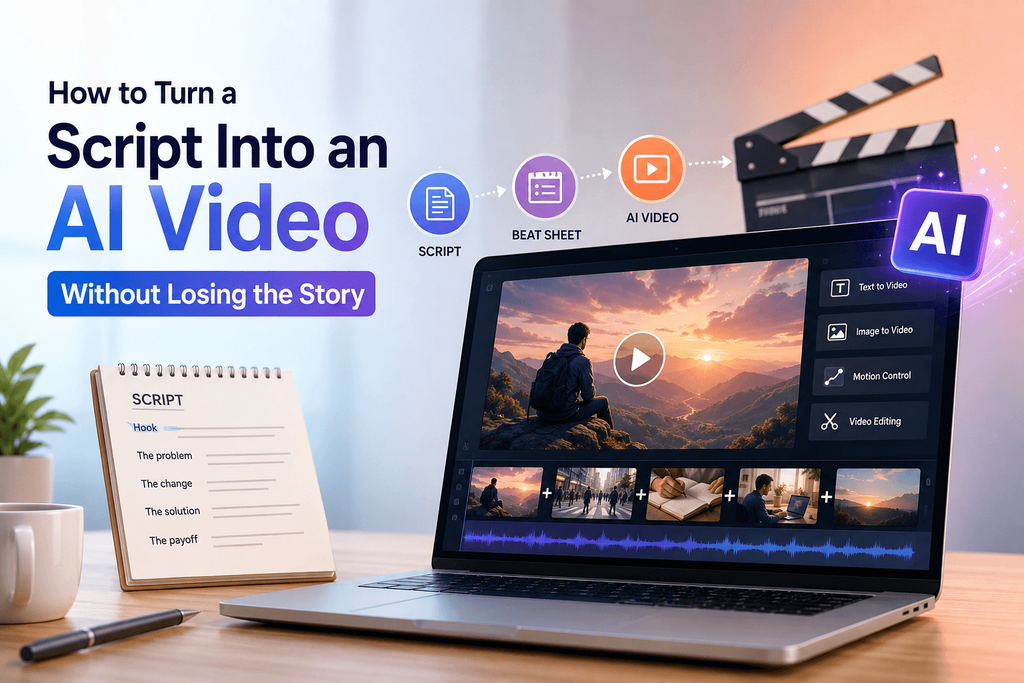
You’ve already got a strong sixty-second script. The hook works. The pacing reads well. The ending actually lands. So you paste the whole thing into an AI video generator, hit go, and wait.
The result is technically correct — and creatively wrong. One throwaway sentence gets ten seconds of screen time. The line that mattered most flashes by in two. A character’s face shifts slightly halfway through. The camera drifts in a way that has nothing to do with the mood of the scene. And the strongest line in the whole script gets illustrated in the most literal, least interesting way possible.
Here’s the lesson that changed how I approach this: script-to-video generation works a lot better once you stop treating a script as a block of text and start treating it as a sequence of visual decisions. That shift is really the whole subject of this article.
The Biggest Misunderstanding About “Script to Video”
A written script and a video script are not the same object, even though they look similar on the page. A written script tells you what should be communicated, what someone says, and the order the ideas come in. A video needs a lot more than that — what the viewer actually sees, who’s present in the frame, where the scene takes place, what changes during the shot, where the camera sits, how it moves, how long the shot lasts, how emotionally intense the moment is, and how it connects to the shot before it.
That gap is where most AI-generated videos go wrong. A free AI script to video generator shouldn’t be expected to replace your directorial thinking — its real job is compressing the amount of production work it takes to execute that thinking once you’ve already done it. That’s a very different claim than “AI saves time,” and it’s the one that actually holds up once you’ve tried this a few times.
I Started Turning Every Script Into a “Visual Beat Sheet” First
Instead of feeding a three-hundred-word script straight into a generator and hoping for the best, I started breaking it into visual beats first. Here’s what that looks like with a simple two-sentence script.
Original script: “I used to spend an entire afternoon creating one product video. Then I changed one part of my workflow.”
Beat 1 — Problem. Creator sitting at a desk with an editing timeline open, visibly tired.
Beat 2 — Pattern interrupt. Close-up of a clock showing time passing.
Beat 3 — Change. Creator closes the editing timeline and opens an AI video workflow.
Beat 4 — Payoff. Finished product clips appear rapidly.
Four beats out of two sentences. That’s the point — the beat sheet forces you to decide what each moment actually needs to show, rather than leaving that decision to the model.
My 6-Part Script-to-Video Translation Framework
1. Identify the Narrative Job of Each Line
Before generating anything, label every sentence by what it’s doing: hook, context, problem, escalation, evidence, demonstration, transition, payoff, or CTA. Two sentences of roughly the same length can deserve completely different screen time once you know their job. A hook usually needs an immediate visual change to earn attention. Evidence often wants a close-up that lets the viewer actually see the proof. A transition might only need a single second — it’s connective tissue, not a destination.
2. Separate Spoken Information From Visual Information
This is the part most generic guides skip entirely, and it’s probably the highest-leverage idea in this whole framework.
A weak AI video has the narrator say “Electric cars are becoming increasingly common in European cities” while the screen shows, unsurprisingly, a generic electric car driving through a generic city. The image is just repeating what you already heard.
A better approach lets the narration carry the idea while the visuals add something new: an EV entering a crowded intersection, pedestrians crossing, a charging station in the background, a delivery vehicle passing through frame, a wide shot that reveals just how dense the city actually is. The audio and the visuals are now doing two different jobs instead of one job twice.
3. Turn Abstract Sentences Into Observable Actions
AI video models respond to visible events far more reliably than they respond to abstract concepts. “The employee becomes more productive” doesn’t give a model anything concrete to render. “A tired office worker closes several browser tabs, checks three completed tasks on her laptop, stands up, and leaves the desk before sunset” does.
A few more transformations worth borrowing:
“The product feels luxurious” becomes a slow rotating bottle with a controlled highlight sweeping across the glass.
“He becomes nervous” becomes fingers tightening around a coffee cup, followed by a brief glance toward the doorway.
“Business starts improving” becomes order notifications appearing on screen while boxes accumulate beside the workspace.
Every one of these swaps a feeling for something a camera could actually catch.
Why I Rarely Generate a Whole Script as One Video
Feeding an entire script into one generation invites a specific set of problems, and once you’ve seen them a few times, they get easy to spot in advance.
Scene weighting — the AI gives an unimportant sentence far more screen time than it deserves, just because it happened to be a longer sentence.
Character drift — the same person’s face or outfit shifts slightly as the sequence goes on.
Location drift — furniture, weather, or the background quietly changes between what should be the same room.
Camera randomness — shots feel visually disconnected from one another, like they belong to different videos.
Emotional flattening — every moment gets roughly the same intensity, so nothing in the video feels like the important part.
My workaround is to generate the important beats separately and assemble the strongest results afterward. That approach fits naturally with how Pixwith is actually built — the platform offers text-to-video, image-to-video, video editing, motion control, and video extension as separate modes on the same platform, rather than positioning itself as a single tool that automatically reads a full screenplay and hands back a finished film. Treating it as a production layer, not a script-reading machine, is what actually gets good results.
The Script Formatting Method I Use Before Opening Pixwith
I run every beat through the same template before I generate anything, which keeps me from improvising details on the fly and getting inconsistent results across shots.
Scene 01
Narration: the sentence itself.
Subject: who or what appears.
Action: what visibly happens.
Environment: where it occurs.
Camera: shot size and movement.
Lighting: time of day and mood.
Continuity: what has to stay unchanged from the last shot.
Duration: roughly 3 to 5 seconds.
It looks a little rigid written out like this, but filling in each field takes less time than you’d expect, and it catches gaps in your thinking before you’ve spent a generation on them.
A Realistic Example — Turning a 30-Second Script Into Six Shots
Here’s a full script for a productivity app ad, broken all the way down:
“Every morning I opened my laptop already behind. Emails, meetings and unfinished tasks competed for my attention. Then I started planning the first three things I would finish before checking anything else. My mornings didn’t become quieter. They became clearer.”
Shot 1 — Hook. 6:30 AM. A tired remote worker opens their laptop at the kitchen table. Camera: slow push-in.
Shot 2 — Overload. Close-up of multiple windows and notifications stacking up. Camera: handheld, over-the-shoulder.
Shot 3 — Friction. The worker rubs their eyes and looks away from the screen.
Shot 4 — Change. A notebook opens to reveal three simple handwritten tasks.
Shot 5 — Progress. The same worker completing the tasks one by one.
Shot 6 — Payoff. The laptop closes as morning sunlight fills the room.
Notice that the visuals aren’t just illustrating every noun in the script — a literal version would show emails, a calendar, a to-do list app, and so on. Instead, each shot is expressing the change in emotional state the script is actually describing. That’s the difference between a video that matches the words and one that matches the story.
Where Pixwith Fits Into This Workflow
Step 1 — Start with the most important scene. Don’t generate chronologically first. Generate whichever scene determines if the whole concept actually works visually — usually the opening hook, the hero product shot, the character introduction, or the emotional payoff.
Step 2 — Use text-to-video for scenes that don’t need a reference. Describe the subject, environment, action, camera, lighting, and visual style together. Pixwith’s text-to-video generation lets you choose your own generation settings rather than locking you into one fixed format.
Step 3 — Use image-to-video when visual consistency matters. If a character, product, or location needs to stay recognizable across shots, establish a visual reference first and animate from there. Text-to-video is for exploration; image-to-video is for control. Keeping that distinction in mind saves a lot of wasted generations.
Step 4 — Direct movement explicitly. Don’t write “make this cinematic.” Write something like: “Camera slowly tracks backward while the subject walks forward. Subject remains centered. Light wind moves jacket and hair. No sudden camera movement.” Specific, renderable instructions beat vague mood words every time.
Step 5 — Generate alternatives for the important beats. For your hook and payoff shots especially, generate a few different interpretations rather than accepting the first result. If one shot fails, regenerate that shot — not the entire sequence.
Step 6 — Assemble the sequence. Evaluate the finished video as a sequence, not as six isolated clips that each happen to look good on their own. Pixwith’s video-editing and motion-control tools sit right alongside the generation tools, which makes this multi-stage approach a much more natural fit than treating the whole thing as one prompt and one finish button.
The Prompt Structure That Gave Me More Predictable Script-to-Video Results
The structure I keep coming back to: subject, environment, visible action, camera framing, camera movement, lighting, emotion, and a continuity constraint.
Here’s what that looks like filled in: “A tired remote worker sits alone at a kitchen table at 6:30 AM, staring at an open laptop. He rubs his eyes and slowly leans back in his chair. Medium shot with a gentle camera push-in, natural blue morning light through the window, subtle handheld movement, realistic apartment, restrained cinematic photography. Keep the man’s clothing and facial appearance unchanged.”
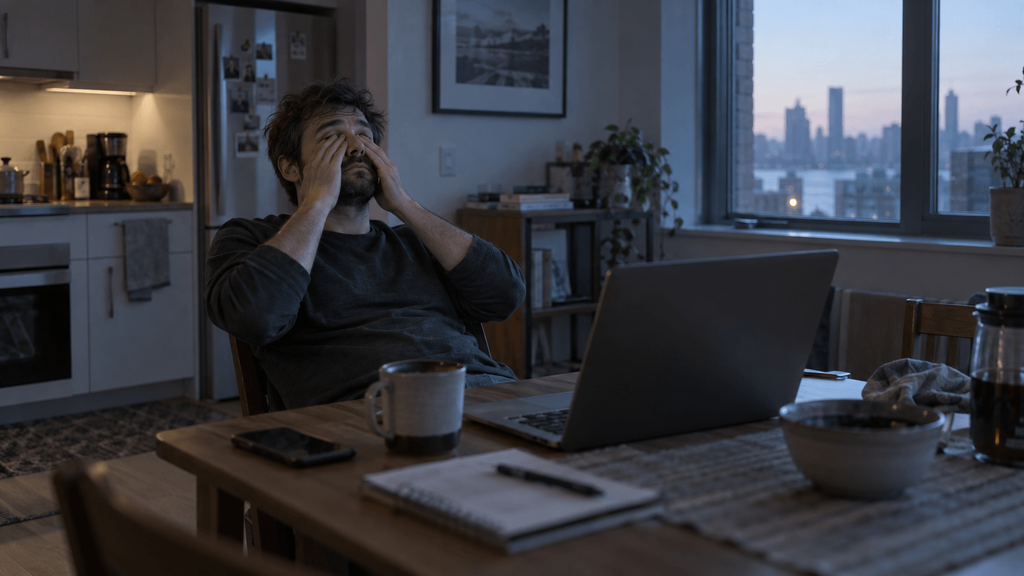
It works because every piece of that prompt describes something a model can actually render. There’s no abstract mood language left for it to interpret on its own.
One Small Change Improved My Results More Than Longer Prompts
Here’s the single biggest shift in my results: one shot, one primary action.
Weaker: “Woman enters room, picks up the phone, becomes shocked, walks to the window, looks outside, cries and then turns toward the camera.”
Better: shot 1, woman enters room and notices phone. Shot 2, close-up as she reads the message. Shot 3, she walks slowly toward the window.
More instructions in a single prompt don’t automatically mean more control. Past a certain point, they just create competing motion instructions that the model has to arbitrate on its own — and it usually doesn’t arbitrate them the way you’d have chosen.
What I Wouldn’t Automate
There’s a real temptation to hand everything over once the workflow starts working. A few things I keep firmly in my own hands regardless.
The hook. AI shouldn’t be the one deciding what makes your idea interesting in the first place.
Emotional pacing. You know which line deserves a beat of silence and which one deserves emphasis — that judgment doesn’t transfer well to a prompt.
Brand claims. Anything stated as fact gets verified manually before it goes anywhere near a finished video.
Product accuracy. Labels, interfaces, packaging, physical details — worth a careful second look every time.
Final shot selection. A generation that technically succeeded isn’t automatically the best storytelling choice. Sometimes the “worse” take is the one that actually fits.
The way I’d sum it up: AI is strongest as production leverage, not as creative accountability. It can execute a decision faster than you could film it yourself. It shouldn’t be the one making the decision.
Four Script Types That Need Different Video Strategies
Educational scripts do best when you prioritize clarity first, then visual examples, then supporting diagrams or B-roll, with a slower overall pace than you’d use elsewhere.
Product scripts need product consistency above everything else, followed by clear demonstrations, close-ups on the details that matter, and a problem-to-result contrast that makes the value obvious.
Storytelling scripts live or die on character continuity, consistent geography, a real emotional progression, and visual motifs that recur enough to feel intentional.
Short-form social scripts need movement in the first second, rapid visual changes, deliberate pattern interrupts, and a payoff that actually pays off.
Treating these as one undifferentiated “make a video” task is where a lot of generic advice falls apart.
How I Decide Whether a Free AI Script to Video Generator Is Actually Useful
Rather than judging a tool by how many templates it ships with, I run it through a short scorecard.
| Test | Question |
| Intent | Did the visual communicate what the line was supposed to do? |
| Continuity | Did important characters and objects stay recognizable? |
| Motion | Did the requested action actually happen? |
| Camera | Did the framing and movement follow the direction given? |
| Editability | Can I fix one weak scene without restarting the whole thing? |
| Speed | Can I test several concepts without it becoming expensive? |
| Output | Does the finished clip actually fit the target platform? |
If a tool struggles with more than one or two of these, it’s usually not a prompting problem — it’s a limitation worth knowing about before you build a whole workflow around it.
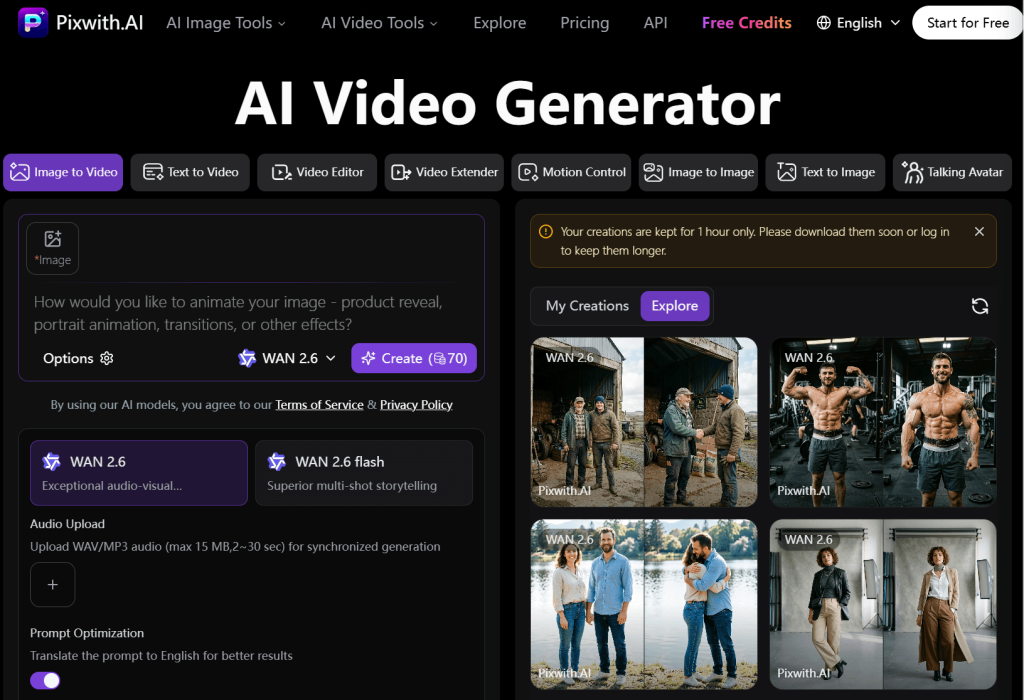
The Workflow I’d Recommend to Someone Trying Pixwith for the First Time
Script, then narrative beats, then visual beats, then reference images where they’re needed, then generate the individual shots, compare variations, assemble the sequence, cut the weak frames, add narration and captions, and do one final review before publishing.
Instead of asking Pixwith to magically interpret an entire finished script in one pass, I’d treat it as a visual production layer — turning each important beat into a controllable shot and picking whichever generation mode matches how much consistency or movement that particular scene needs. That positioning holds up because Pixwith actually combines multiple AI video modes, including text-to-video and image-to-video, rather than functioning as a single tool built only to read scripts aloud over stock-style footage.
Final Takeaway — Don’t Ask AI to “Make My Script Into a Video”
The better instruction isn’t “turn this into a video.” It’s “help me translate this story into the right visual sequence.” A script already contains structure, emotion, information, and intent before an AI tool ever touches it. The job of a script-to-video workflow isn’t to staple footage onto sentences — it’s to carry all of that across into a different medium without losing it along the way.
If you’ve already got a script sitting there, try breaking it into three to six visual beats and generating those scenes individually with Pixwith before you attempt a full video in one pass. You’ll learn a lot more about what the story actually needs, and you’ll usually end up with a more deliberate final cut than a single-shot generation would have given you.
Frequently Asked Questions
What is a free AI script to video generator?
A tool that turns written narration or a script into video footage, using AI to generate the visuals, motion, and pacing that match what’s being said.
Can AI turn a complete script into a video?
Technically yes, but generating a full script in one pass often produces uneven results — scenes with the wrong screen time, characters that shift slightly, and camera movement that doesn’t match the story. Breaking the script into beats first generally produces a more coherent final video.
How should I format a script for an AI video generator?
Break it into individual scenes with the narration, subject, action, environment, camera direction, lighting, continuity notes, and rough duration each spelled out separately, rather than pasting in one continuous block of text.
Is script-to-video the same as text-to-video?
They’re related but not identical. Text-to-video usually refers to generating a single scene from a written description. Script-to-video involves translating a longer piece of narration into a full sequence of those scenes.
Should I generate an entire script at once or scene by scene?
Scene by scene, especially for anything longer than a few seconds. It gives you more control over pacing, continuity, and which shots need another attempt, without forcing you to regenerate a video that was mostly working.
How do I keep characters consistent across AI-generated scenes?
Establish a clear visual reference for the character early and use image-to-video generation for any scene where that character needs to stay recognizable, rather than relying on text descriptions alone for every shot.
Can I use AI script-to-video tools for YouTube Shorts and TikTok?
Yes — short-form scripts actually benefit from the beat-by-beat approach described here, since fast pacing and early movement matter even more on those platforms than they do for longer-form video.